Blueprint in Zoho Creator makes the processes work more efficiently by streamlining automation, validation, and collaboration among different stakeholders. The blueprint allows you to define and enforce details of the process that you have designed in the Creator application.

A blueprint in Zoho Creator consists of a flowchart that has two major components –
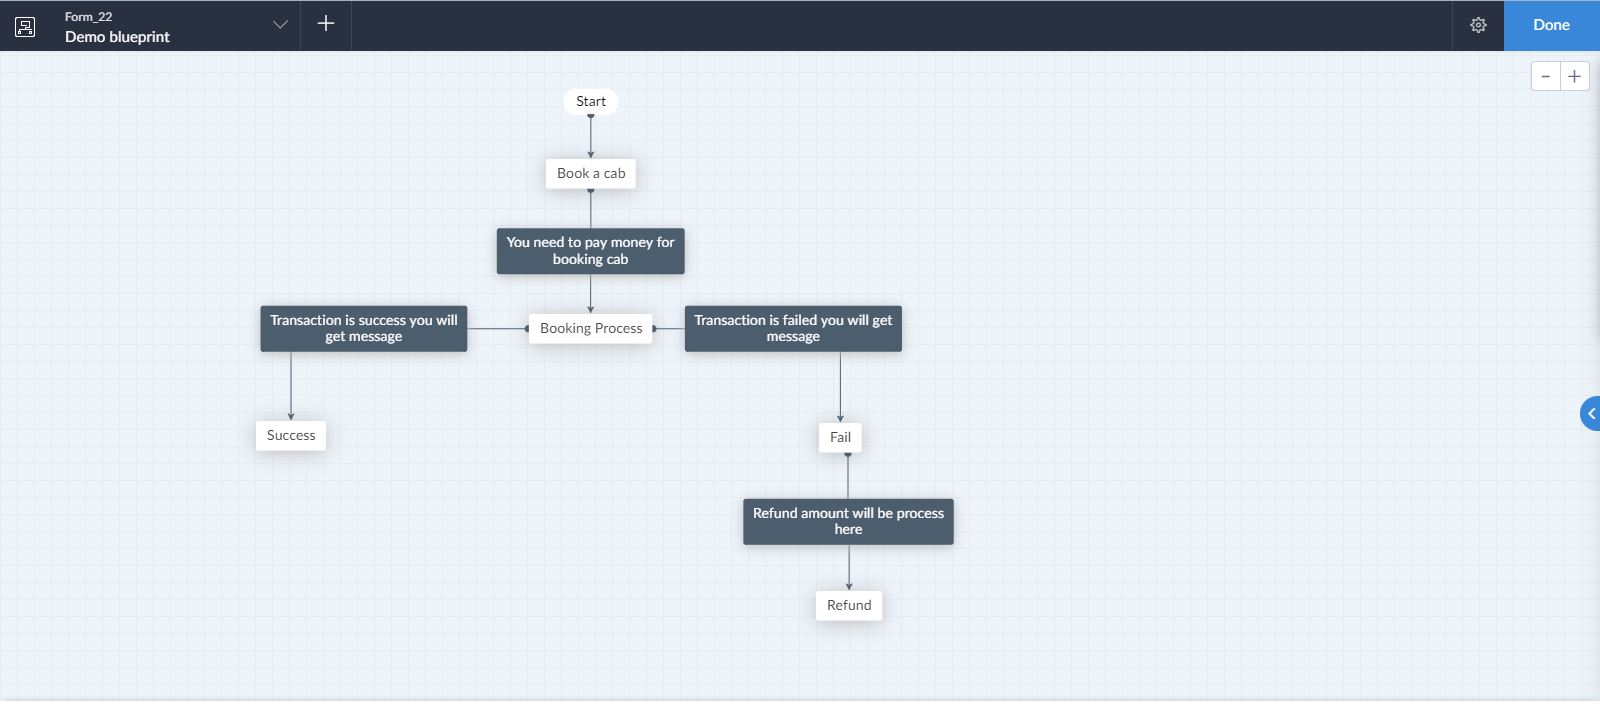
- State – In a Blueprint setup, the process in which every stage is called a state. For example, any deal in a CRM will go through different stages until the follow-up takes place which includes qualification, negotiation, and discount approval. The states can be dragged and dropped in the Blueprint Editor in order to design the process flow.
- Transitions – The transition acts like a link between two states within the process. It prescribes the conditions that require the record to move from one state to another. After that, a set of actions is performed while moving between stages. For example, sending mail to the job seeker when the record progresses from the “applied” stage to the “resume selected” stage.
Transition conditions
Regardless of being a sales deal, or any other process, what you can do is divide each one of the transitions into Before and After conditions.
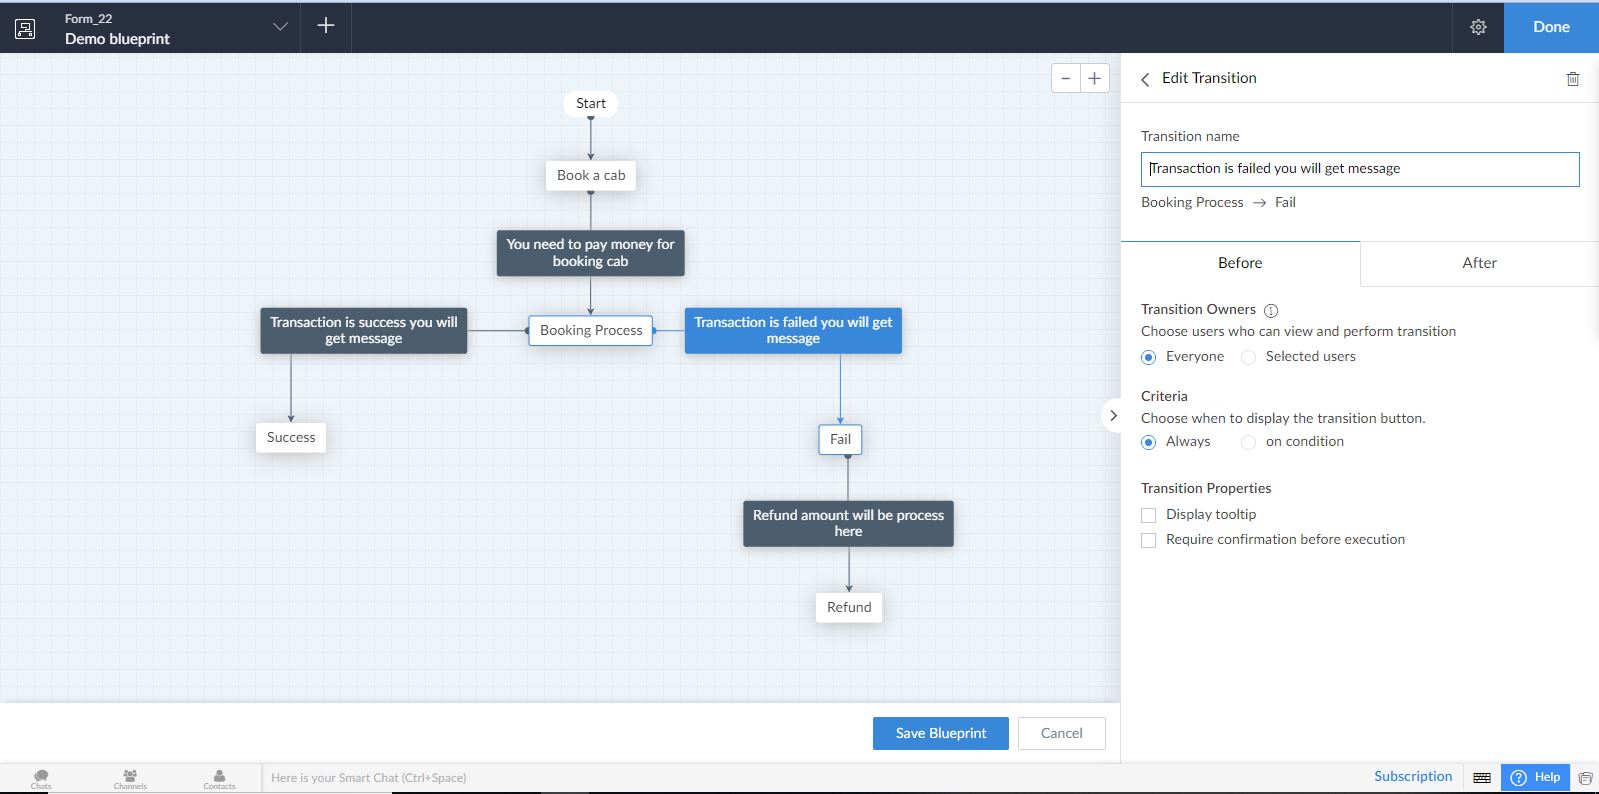
1. Before – This has the following conditions on which the transition should be initiated.
- Transition owner – Transition owners are those users who can view and perform the transition. All you can do is select individual users, profiles, and user fields as the transition owners. If no transition owner has been selected then all users can view and perform transitions
- Criteria – Transition criteria is the condition that determines when the transitioning owner will be able to perform the transition. You can click + to add more criteria. Moreover, you can set logic between criteria by using OR and AND expressions. For ‘AND’, each one of the criteria should be true, whereas for ‘OR’, only one of the criteria must be true
- Tooltip message – Here, the user can enter a tooltip message that will be displayed
- Require confirmation – Before performing the transition, you can choose to ask for confirmation
2. After – Some of the actions need to be executed after the transition is started. The actions include Notification, Data access, Integrations, and Deluge script.
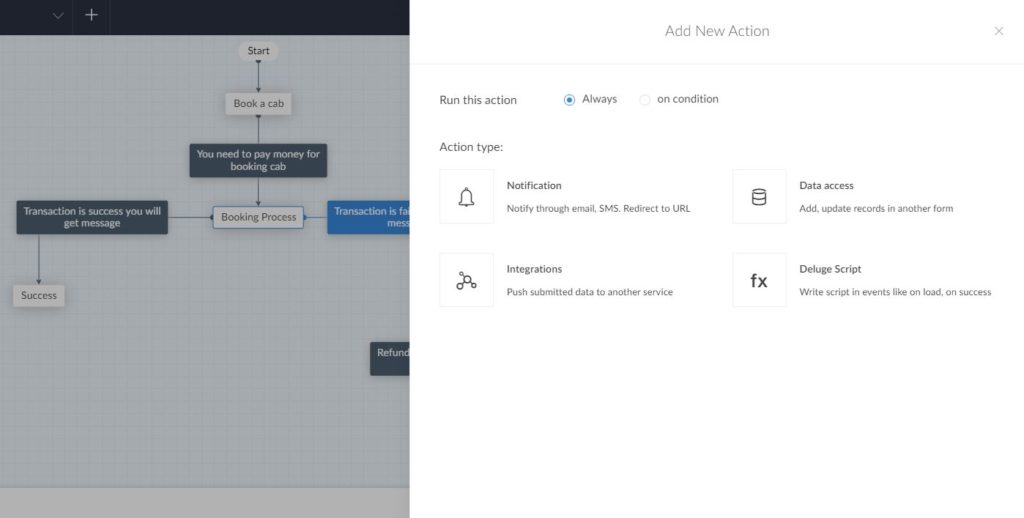
Two types of transition
- Common Transition – The common transition is the one that can be accessed from numerous stages in a blueprint. For example, consider online order management in which the customer can cancel the order at any time so that the canceled order transition is available in all stages.
- Parallel Transition – When many transitions need to be moved from one stage to another then it is known as parallel transition. For example, hostel fees, college fees, and book fees, all have to be paid only when the record must be marked as the fee paid.
How to create a Blueprint in the Zoho Creator
- At first, the user needs to visit the website page – creator.zoho.com
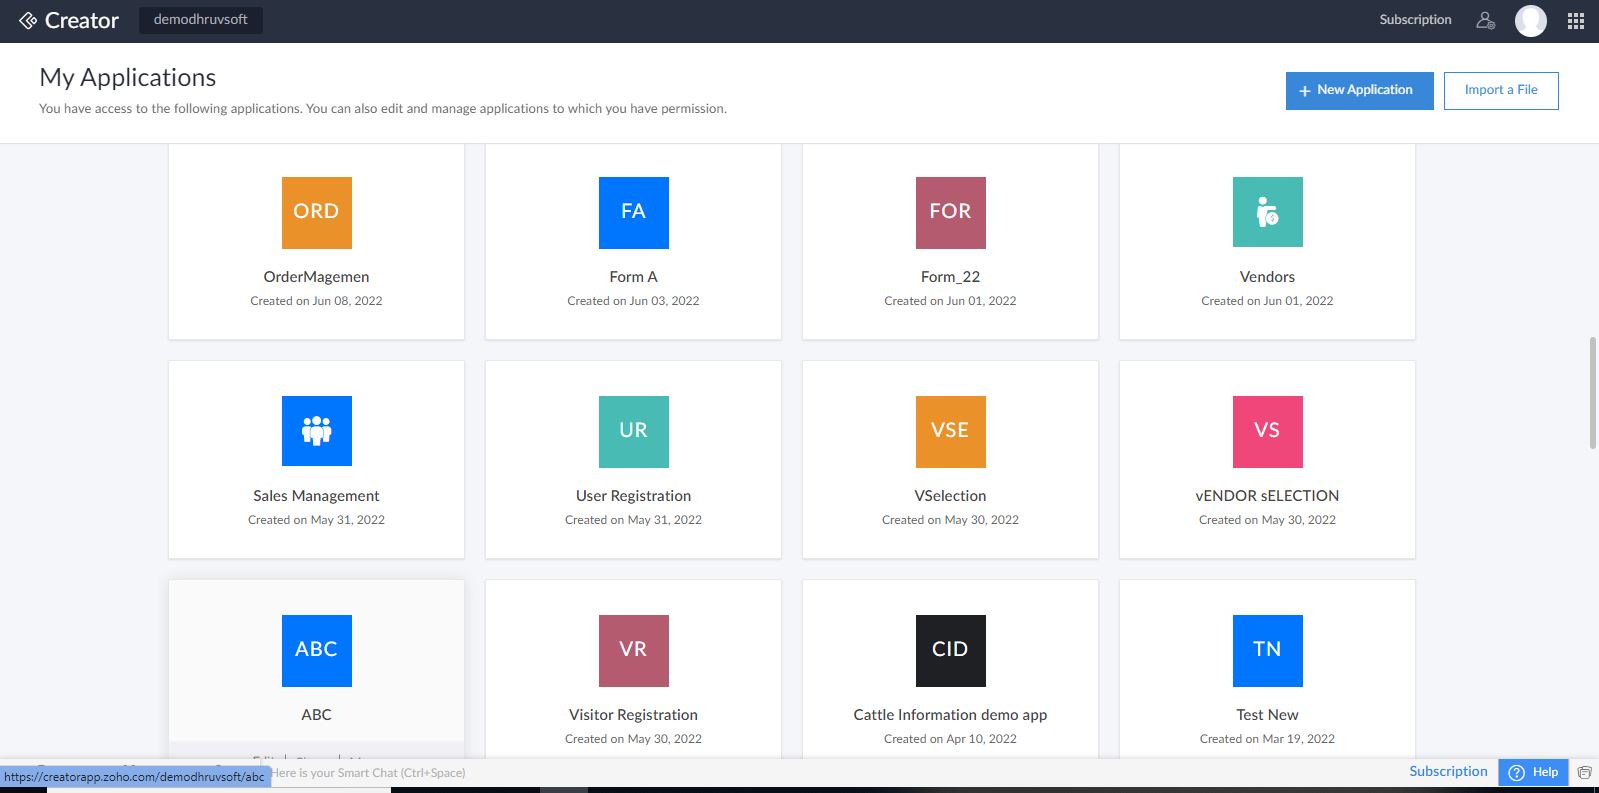
- On the home page, you can see many Zoho applications. Each one of them has its own working purpose
- For creating a blueprint, we have created Form_22
- Click the Form_22 application. You will see the screen image for Participants in which the options like Name, Phone number, Email, Drop Down, Date, and Address are given
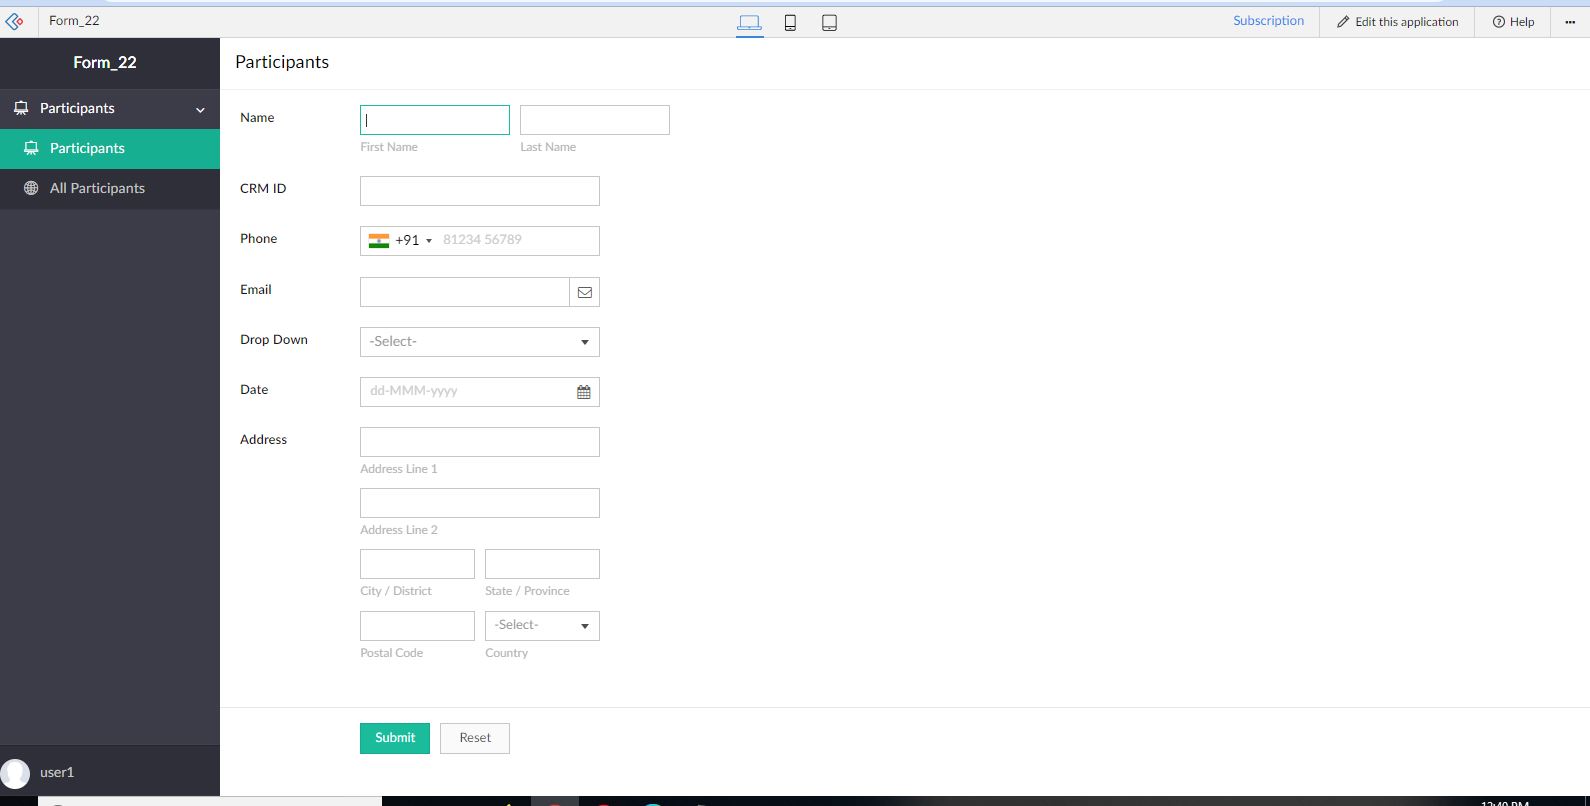
- Next, click on the ‘Edit this application’ option
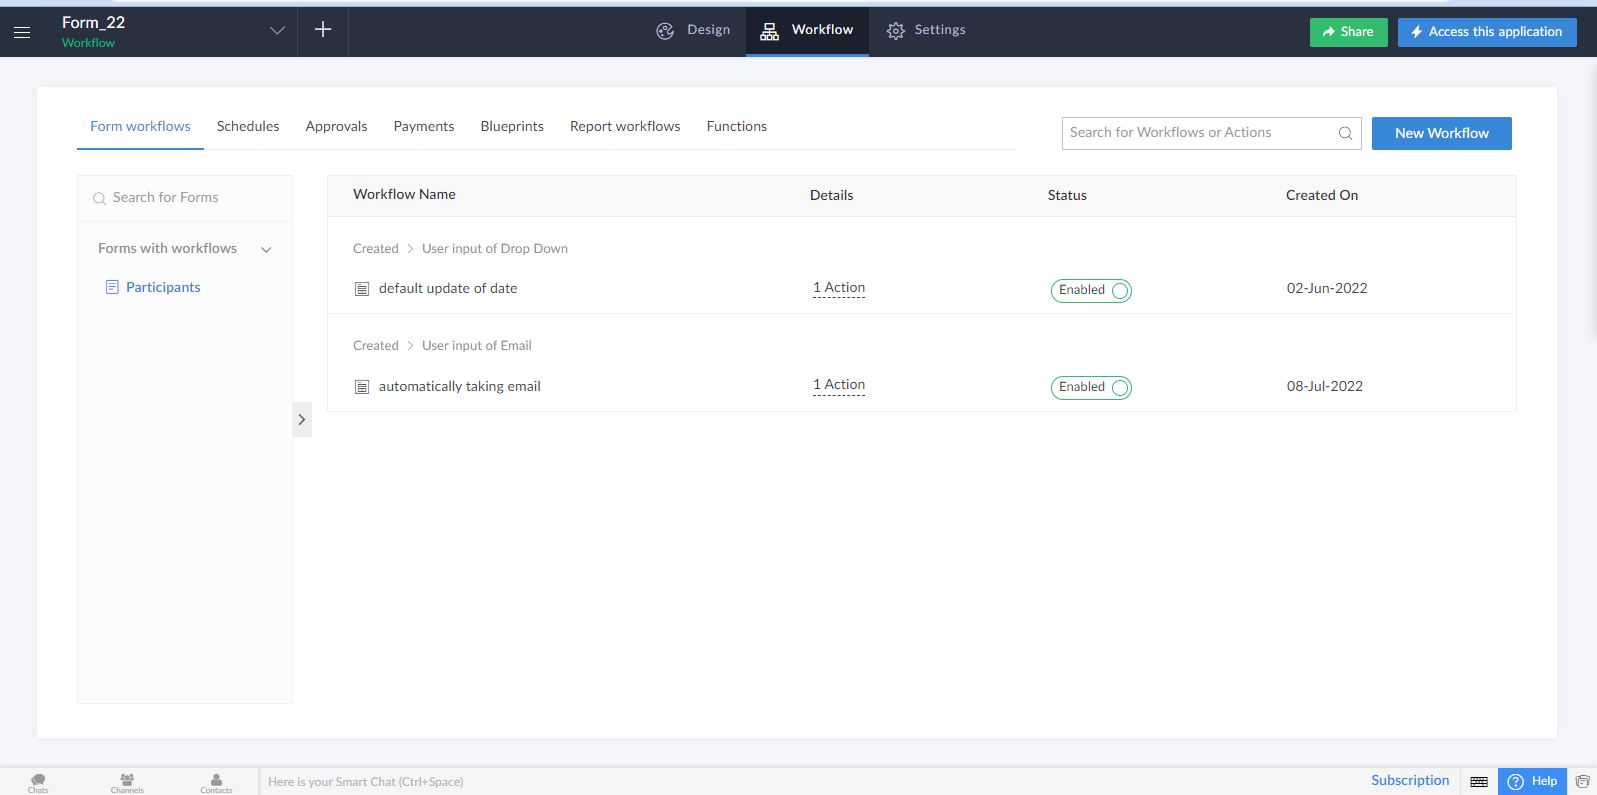
- On top of the screen, three options are shown- Design, Workflow, and Settings
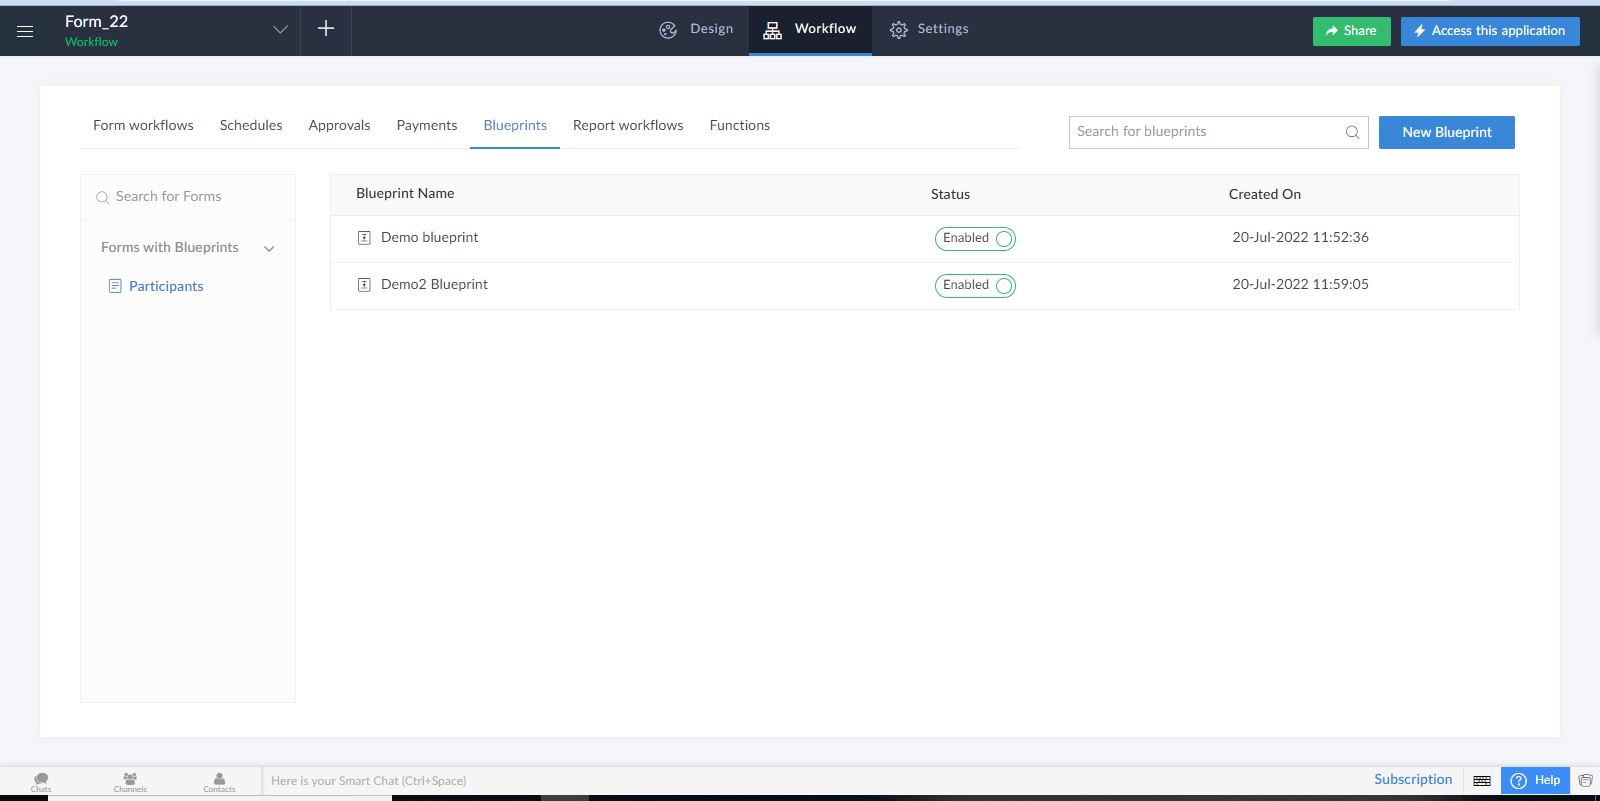
- Click on the Workflow
- After that, you need to click on Blueprints
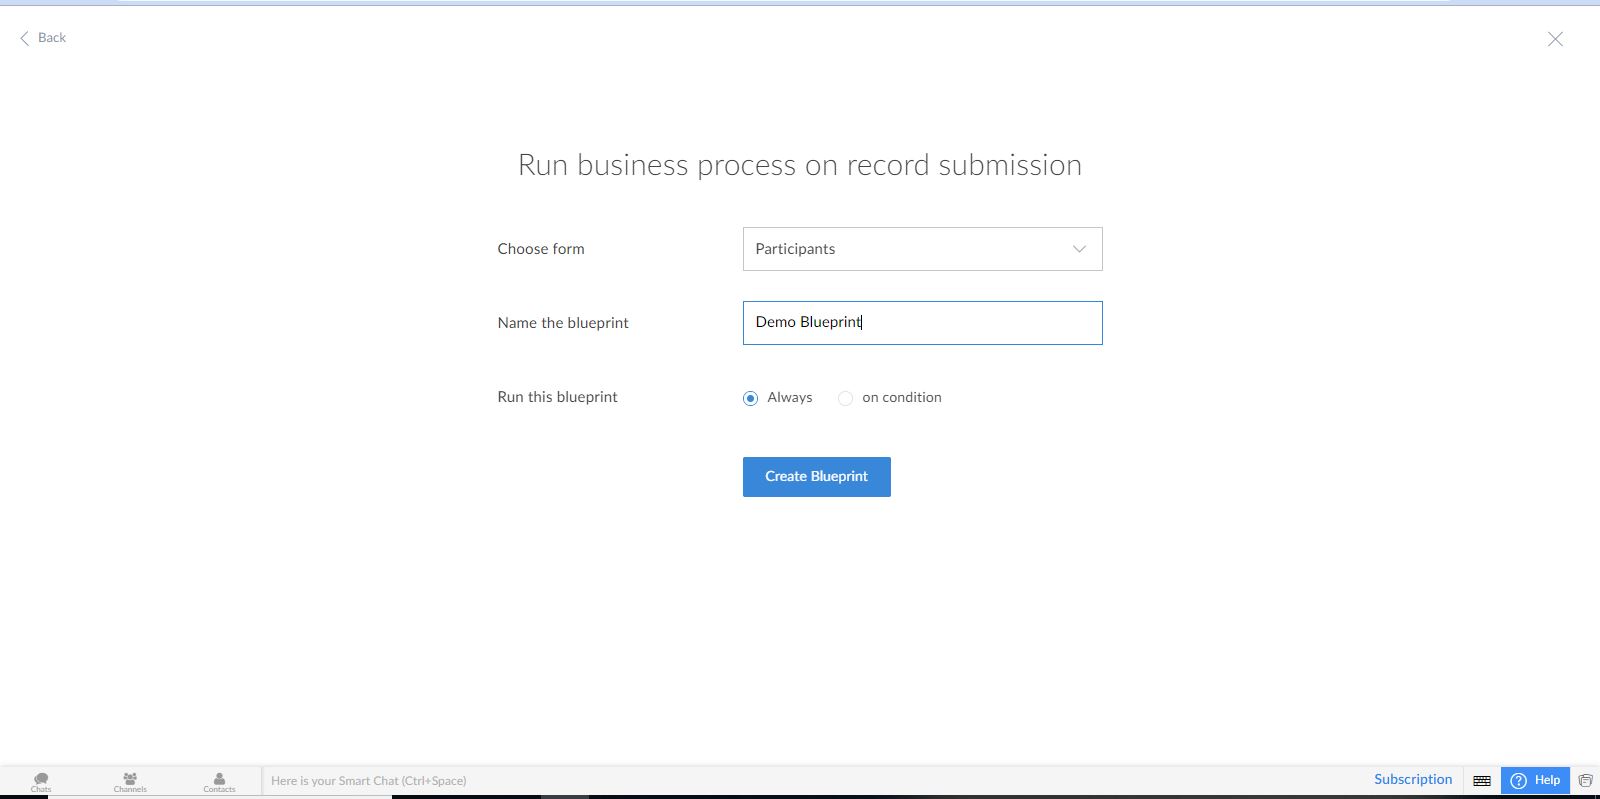
- Select the new Blueprint option on the right-hand side of the desktop screen
- You will see the screen showing – Choose from – Participants, Name of the blueprint – Enter Demo Blueprint, and Run this blueprint – always or on condition
- Based on your choice, you can either run the blueprint on always or on condition
Demo blueprint – Booking a cab
Conclusion
If you have any queries about the blueprint, connect with our team of expert Zoho Creator Consultants for more information on this Zoho Creator’s blueprint tool.


 “ZOSuccess” is the Zoho Consulting Practice of Dhruvsoft Services Private Limited – a leading Zoho Advanced Partner from India – providing services worldwide …